
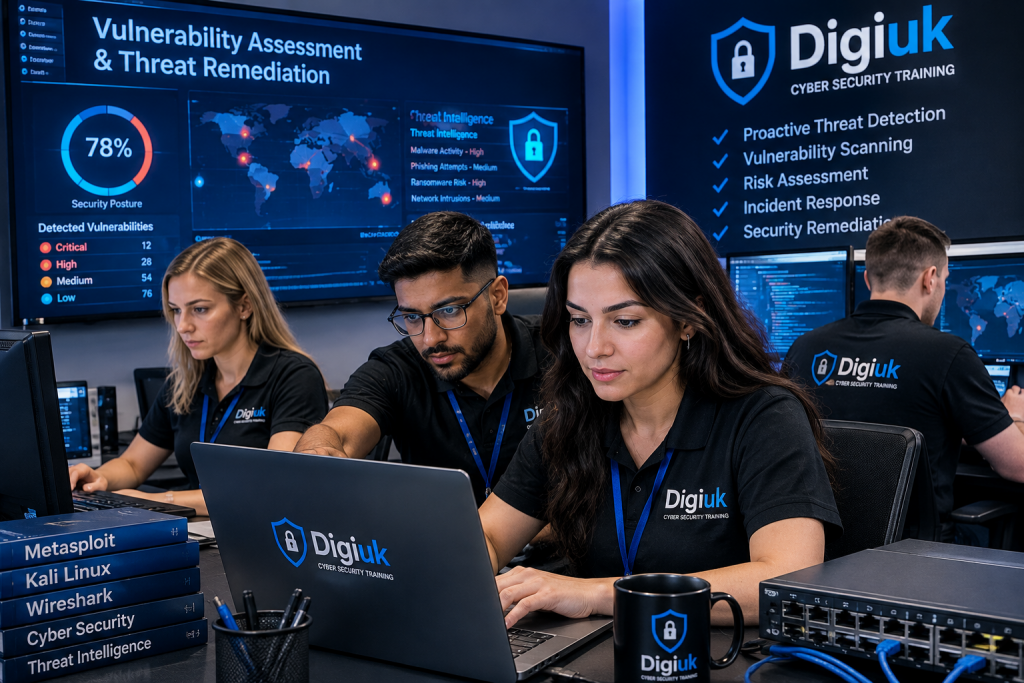
Welcome back to the next comprehensive session of our Enterprise Network Specialist curriculum. In this module, we transition from foundational security monitoring into professional-grade vulnerability scanning and risk management using Nessus, the industry-standard tool for identifying system weaknesses, misconfigurations, and missing patches.
1. Introduction to Vulnerability Assessment
A vulnerability assessment is a systematic review of security weaknesses in an information system. It evaluates if the system is susceptible to any known flaws, assigns severity levels to those flaws, and recommends remediation or mitigation, often before a hacker can exploit them.
-
Proactive Defense: Unlike incident response that reacts to active breaches, vulnerability assessments identify flaws before exploitation occurs.
-
Continuous Scanning: Enterprise networks require recurring scans to catch newly published Common Vulnerabilities and Exposures (CVEs).
-
Compliance Alignment: Regular auditing helps organizations meet regulatory frameworks such as ISO 27001, PCI-DSS, and Cyber Essentials.
2. Setting Up and Configuring Nessus
Nessus operates as a vulnerability scanner that probes target hosts for open ports, running services, and known software vulnerabilities.
Important Note: Always ensure you have explicit written authorization and a signed scope of work before executing vulnerability scans against any production or client network.
Core Configuration Steps:
-
Launch the Nessus Web Interface: Access your local or cloud-hosted instance via HTTPS (typically port 8834).
-
Create a New Scan Policy: Select from predefined templates such as Basic Network Scan or Advanced Scan.
-
Define Target Scope: Input target IP addresses, subnets, or hostnames designated for the assessment lab.
-
Credentialed vs. Non-Credentialed Scans: Configure SSH or SMB credentials to allow Nessus to log into host machines, providing a deep-dive analysis of missing patches and local misconfigurations.
3. Step-by-Step Hands-On Lab: Running Your First Nessus Scan
Follow these sequential steps in your training lab to execute and analyze a scan:
Bash
# Verify network connectivity to your target test lab environment
ping -c 4 192.168.10.50

# Check local interface listening ports associated with your scanner daemon
sudo netstat -tuln | grep 8834
-
Step 1: Log into Nessus and click New Scan.
-
Step 2: Choose Advanced Scan to customize plugins and timing controls.
-
Step 3: Enter the target IP range of your isolated training lab subnet.
-
Step 4: Launch the scan and monitor real-time packet activity alongside Wireshark to understand the traffic generated during fingerprinting.
-
Step 5: Export the resulting vulnerability report in PDF or CSV format for remediation tracking.
4. Interpreting Results and Prioritizing Remediation
Once the scan completes, Nessus categorizes findings using severity ratings based on the Common Vulnerability Scoring System (CVSS):
| Severity Level | CVSS Score Range | Recommended Action |
|---|---|---|
| Critical | 9.0 – 10.0 | Immediate patch or isolate system; active exploits exist. |
| High | 7.0 – 8.9 | Remediate within 24 to 48 hours. |
| Medium | 4.0 – 6.9 | Schedule patching during the next maintenance window. |
| Low | 0.1 – 3.9 | Review and address during routine security hardening. |
-
False Positives: Always verify critical findings manually using command-line tools or exploit frameworks before declaring an emergency patch.
-
Remediation Workflow: Document findings, assign tickets to system administrators, apply patches, and re-scan to confirm closure.
External Resources & Further Reading
-
Explore official documentation and guides at the Tenable Nessus Resource Center.
- see our full cybersecurity course at Digiuk that calls DCCP course